Standard Operating Procedures for Updating the Map of LPBI India
Author: Srinivas Sriram
Co-Author: Abhisar Anand
To update the map of LPBI India, there are two major steps that are involved that use two different softwares. The softwares are:
- Zee Maps (For actually Creating the Map with Landmarks)
- Google Slides (For processing the map and making it look nice and downloadable as JPG).
This SOP Article will delve into how to update the map of LPBI India that is currently created on these softwares in the case that the map needs to be updated for new members of LPBI India or members who leave LPBI India.
- Go to https://www.zeemaps.com/
- Click on the “Sign In” button on the Top Right Corner:

- Sign in to Zee Maps with the following credentials:
- Email: lpbimap@gmail.com
- Password: (Get the Password from Dr. Lev-Ari)
- Once you are signed in, Click on the “MyMaps” page:
- Click on “LPBI India Map” to edit the Map:


- Now, you are in the Map. To see all the current landmarks of LPBI India Members, Click on the Side Bar at the very right of the page.


- Now, you can see all the current members of LPBI India who are on the Map.
- To add a new person to the map, do the following:
- Click on the “Additions” section in the menu on the Left Side of the Page.
- Click on “Add Marker – Simple”.
- For Entry Name, Give the Name of the Person whom you are trying to add to the Map.
- For Location, provide the Location of the Person whom you are trying to add (Just give the City Name and the Map should auto-complete a suggestion that is the correct location).
- Then, you can click “Preview” to see how the new addition would look on the map, “Reset” to reset your changes, or “Close” to close the entry without saving it. If you are happy with the Entry, you can add the marker by clicking the “Submit” button at the bottom of the entry.
- You have now added someone to the map, and you can see them on the table to the right.
- To delete a person from the map, do the following:
- Click the person you would like to delete on the map, and then click the trash can button (as shown in the screenshot).
- Now, you have successfully removed someone from the Map, and they will no longer be visible on the table to the right.
- Click the person you would like to delete on the map, and then click the trash can button (as shown in the screenshot).
- Once you have updated the map per your liking, you now have to move on to the next step of the process.
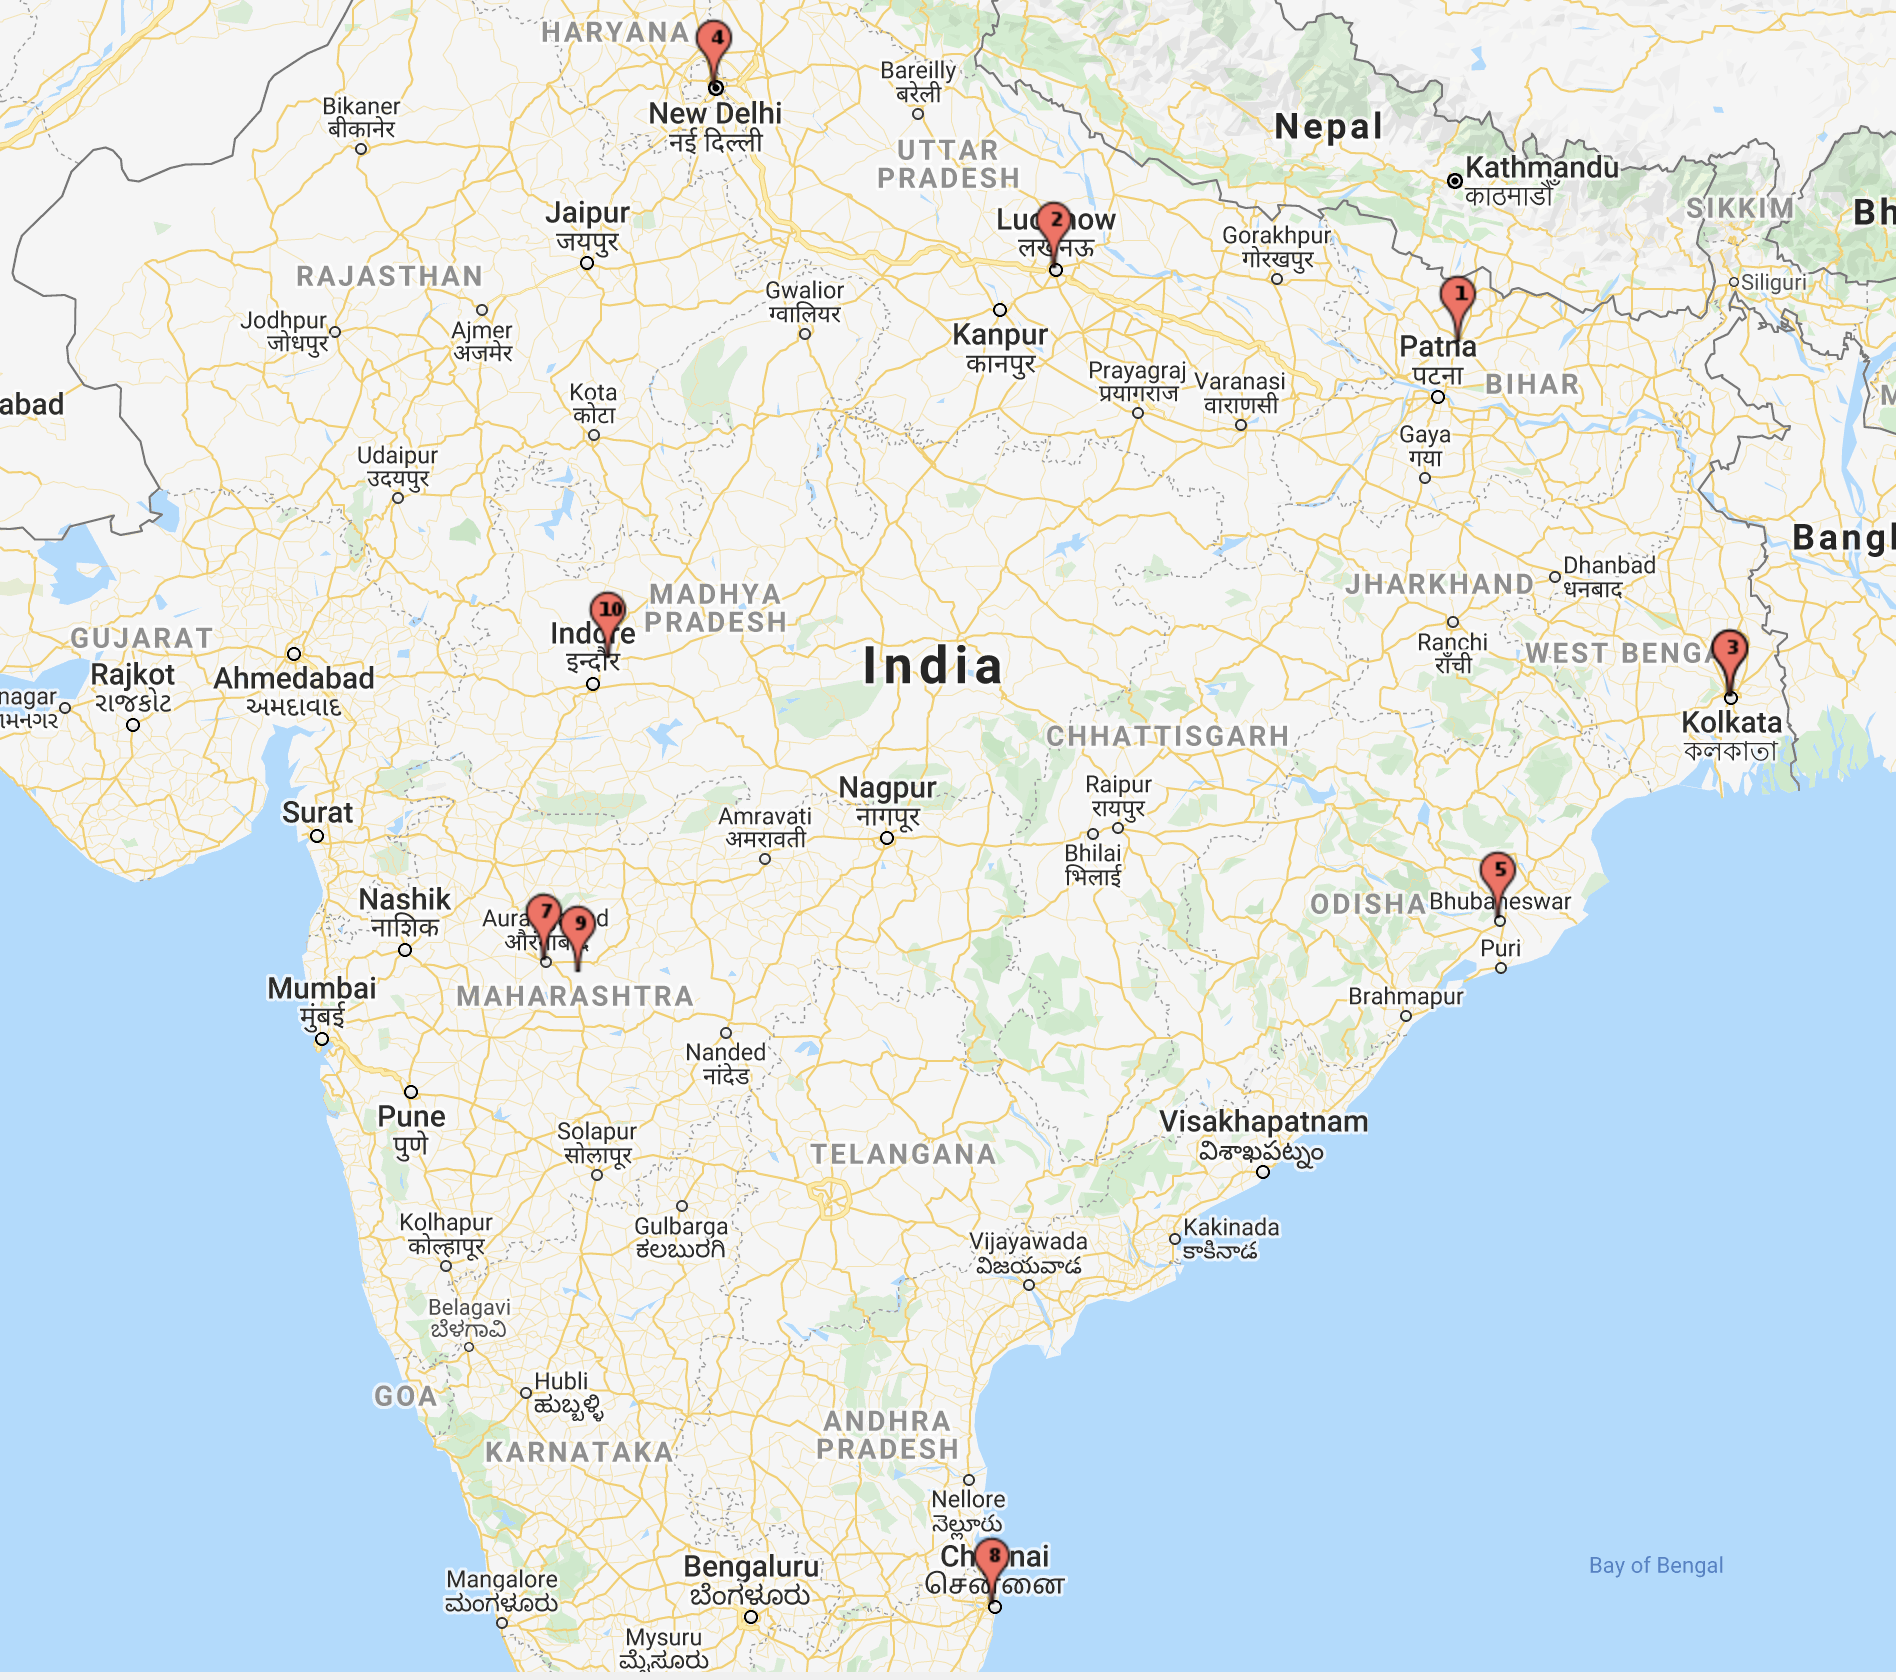
- First, take a screenshot of the updated map region similar to the example shown below and save it to your local computer.

- You now need to access the Google Slide Document that makes the Map look better. Click on the link below to access the current LPBI India Map.
- This Google Slide has:
- A screenshot of the Zee Maps Map with text boxes to make the numbers easier to read.
- A table (the same as the table seen on the Zee Maps Screen) that contains the name of the LPBI India Member and the number on the map that corresponds with that LPBI India Member.
- Insert your new screenshot of the Map you just took into the Google Slide Document, and then change the table on the right to make sure that it matches the table shown on Zee Maps. Make sure that for the map, the text boxes that make the numbers look larger match up the locations of the individual people on the map.
- Edge Case: If two people have the same location, you cannot see both of the markers at the same location. This is why in the current map, numbers 3 and 6 and numbers 7 and 9 are on the same marker. Make sure that all the numbers match up and put the multiple numbers on the map if necessary.
- Once you are satisfied with the updated LPBI India Map, you can download the Map in a variety of formats. Follow the instructions below to download the Map in the format that suits your needs.
- On the top left corner, click on “File” (as shown in the screenshot)
- Click on “Download”. A variety of formats show up. Click on the format that suits your needs (ex. .jpg, .png, .pptx, etc.). Then, the map should download on your local machine.
- On the top left corner, click on “File” (as shown in the screenshot)
- Now, you have successfully updated the map of LPBI India and downloaded it on your local machine! Send the updated map to Dr. Lev-Ari (if someone else is performing the map updates), and this can be used for LPBI India!

Leave a Reply